How to Host an AI-Built Website on WordPress (Step-by-Step Guide for 2026)
Learn how to host an AI-built website on WordPress step-by-step. Convert your site into a WordPress theme, choose hosting, and launch your site the right way in 2026.
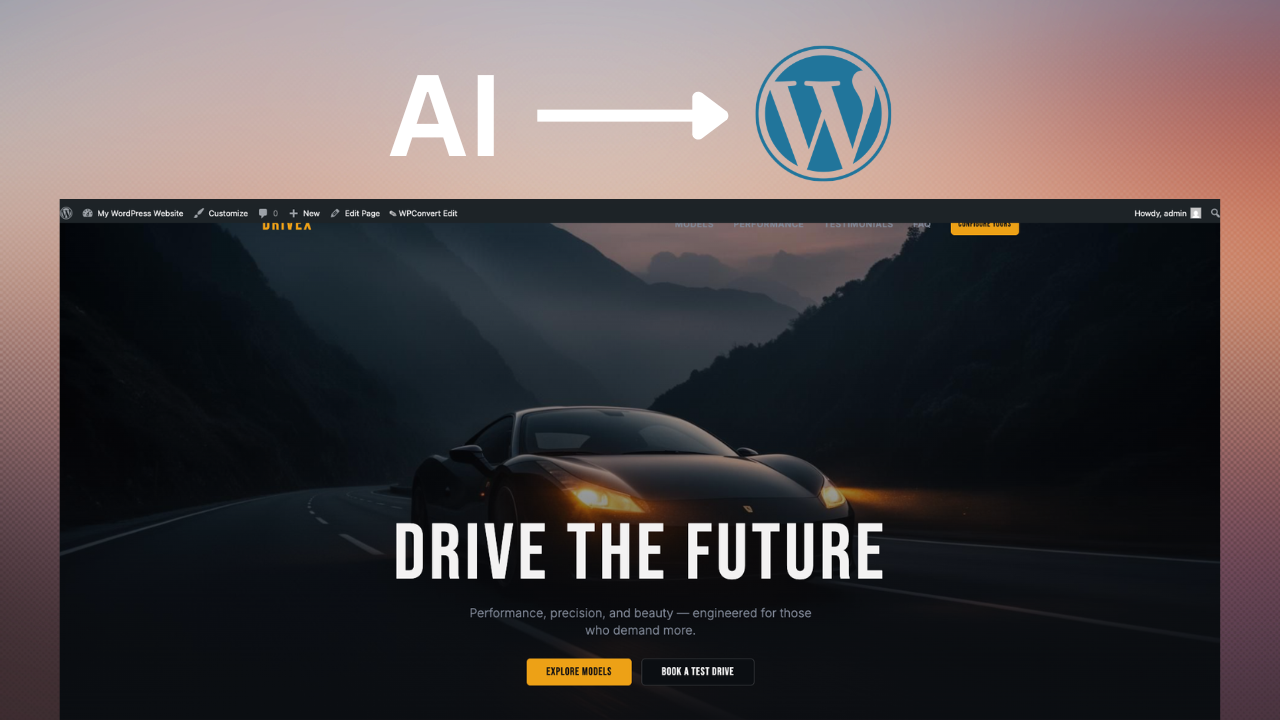
AI website builders like Lovable, Framer, Cursor, and Claude can generate beautiful websites in minutes.
But once your site is built, the next question is:
How do you actually host it on WordPress?
This guide walks you through the full process — from converting your AI-built site into a WordPress theme to launching it on a hosting provider.
Why Host an AI-Built Website on WordPress?
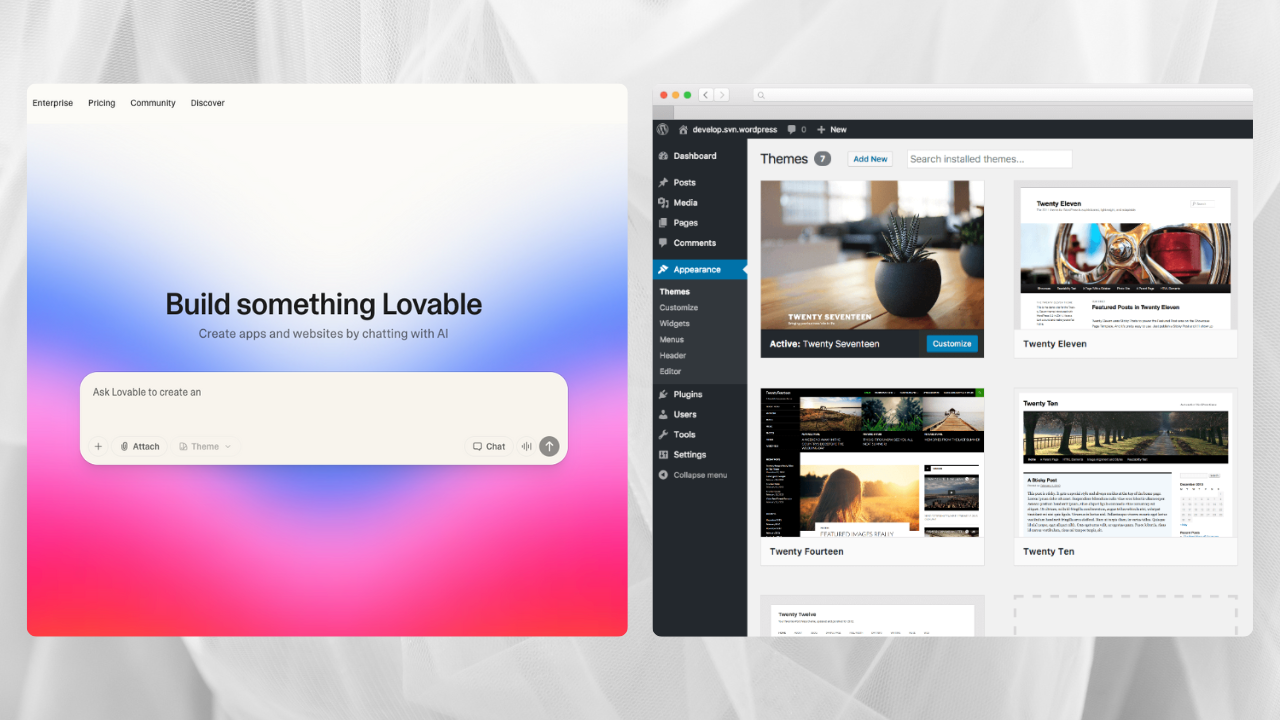
AI builders are great for speed and design.
But they typically lack:
- a full CMS
- plugin support
- SEO control
- long-term flexibility
- ownership of your infrastructure
WordPress solves all of that.
With WordPress, you get:
- full control over your site
- thousands of plugins
- advanced SEO tools
- scalable hosting options
- long-term flexibility
That’s why many developers and agencies use AI builders for design — and WordPress for production.
Step 1 — Convert Your AI Website Into a WordPress Theme
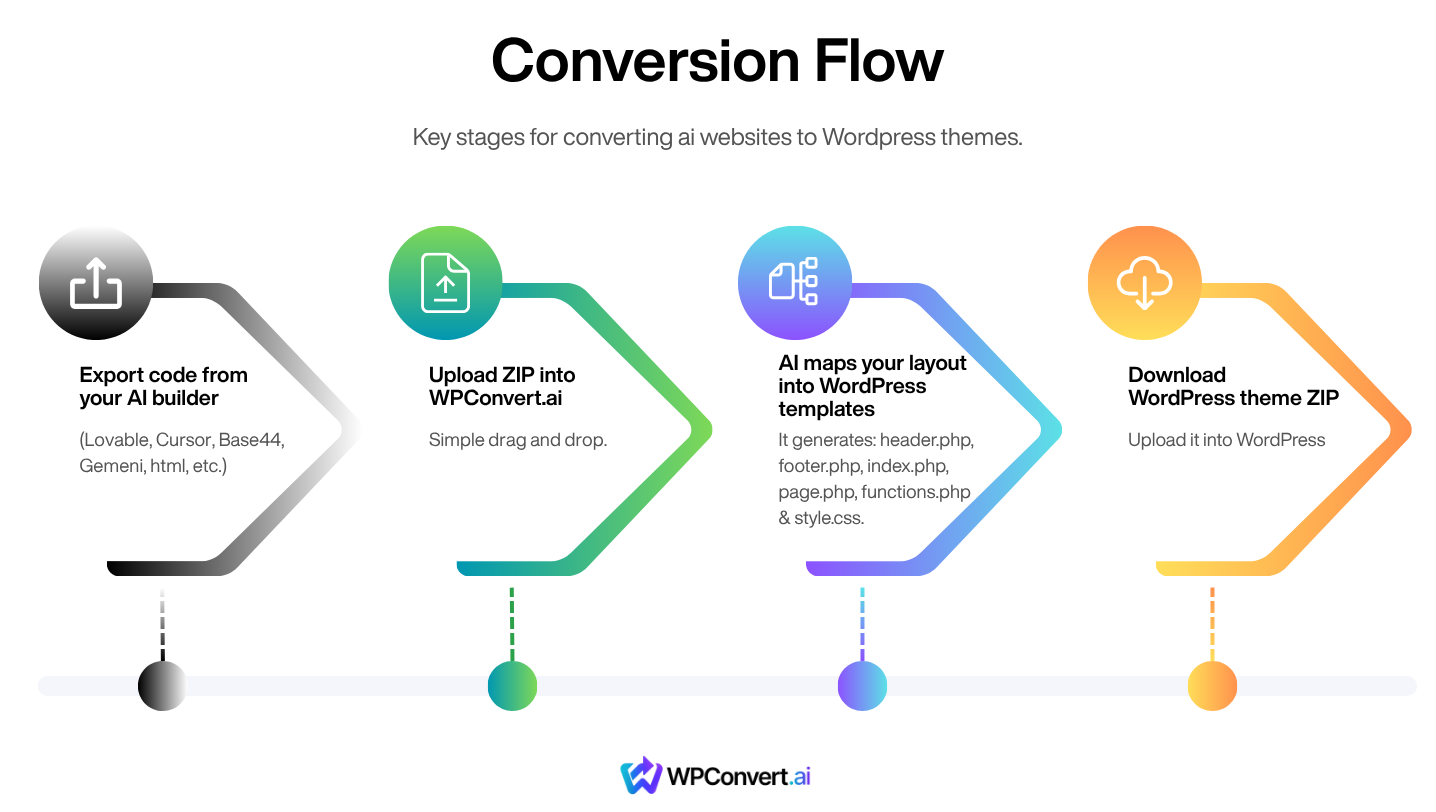
Before hosting, your AI-generated site needs to become a WordPress-compatible format.
Most AI builders output:
- HTML
- CSS
- JavaScript
- or Vite/React projects
WordPress requires:
- PHP templates
- theme structure (header.php, footer.php, etc.)
- proper asset loading
- dynamic content handling
The Easiest Way: Use WPConvert
Instead of rebuilding everything manually, you can use WPConvert to convert your site automatically.
WPConvert:
- analyzes your website structure
- generates real WordPress theme files
- preserves layout and styling
- prepares everything for installation
👉 Convert your AI-built site here: https://wpconvert.ai
Step 2 — Choose a WordPress Hosting Provider
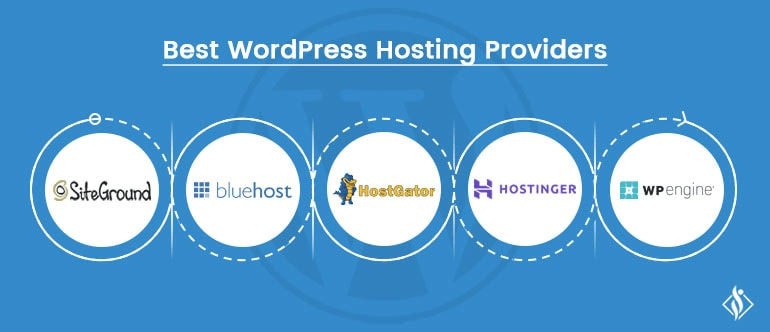
Once you have your WordPress theme, you need hosting.
A WordPress host provides:
- server infrastructure
- database
- domain connection
- WordPress installation
Best Hosting Options for AI-Converted WordPress Sites
Here are solid options depending on your needs:
1. Hostinger (Best for Beginners)
- Affordable pricing
- Easy WordPress setup
- One-click installs
- Great for small to medium sites
2. SiteGround (Best Balance)
- Strong performance
- Good support
- Built-in caching
3. Bluehost (Popular Starter Option)
- Beginner-friendly
- Official WordPress partner
4. WP Engine (Best for Agencies)
- Managed WordPress hosting
- High performance
- Premium support
What to Look for in Hosting
For AI-converted websites, prioritize:
- Fast load speeds
- SSD storage
- PHP 8+ support
- Easy theme upload
- Good caching tools
You don’t need anything overly complex to start.
Step 3 — Install WordPress
Most hosts offer one-click WordPress installation.
Typical process:
- Log into your hosting dashboard
- Click “Install WordPress”
- Choose your domain
- Set admin username and password
- Complete installation
Once done, access your dashboard:
https://yourdomain.com/wp-admin
Step 4 — Upload Your Converted Theme
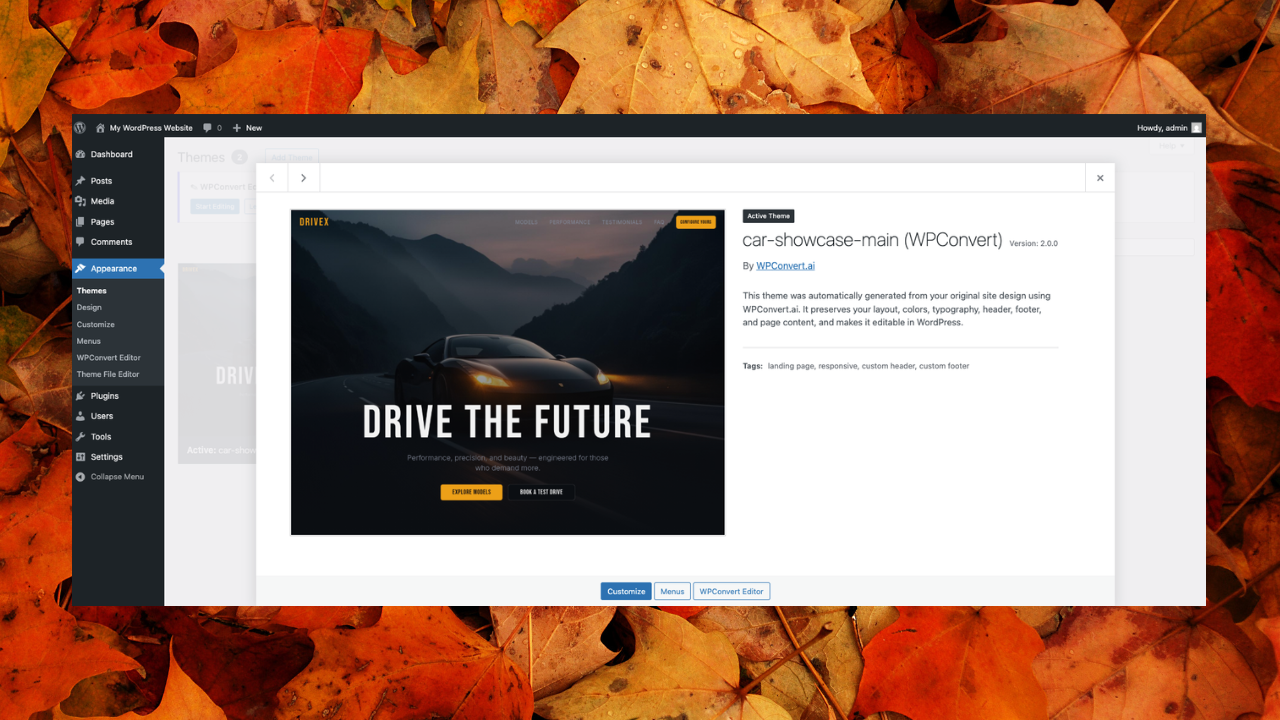
Now it’s time to install your WPConvert theme.
In WordPress:
- Go to Appearance → Themes
- Click Add New
- Click Upload Theme
- Upload your
.zipfile - Click Install
- Click Activate
Your AI-built website is now live on WordPress.
Step 5 — Configure Your Site
After activation:
Check:
- homepage layout
- navigation links
- images and assets
- responsive behavior
Recommended Plugins:
- SEO plugin (RankMath or Yoast)
- Caching plugin
- Security plugin
- SMTP plugin (for email delivery)
Step 6 — Test Forms and Functionality
AI-generated forms often don’t work out of the box.
That’s because they are usually:
- frontend-only
- missing backend logic
- not connected to WordPress
With WPConvert:
Forms are detected and rebuilt using WordPress-native handling, including:
- secure submission
- nonce validation
- email integration
Always test:
- contact forms
- buttons
- user interactions
Step 7 — Connect Your Domain
If you haven’t already:
- Point your domain to your hosting provider
- Update DNS settings
- Enable SSL (HTTPS)
Most hosts provide free SSL certificates.
Common Mistakes to Avoid
❌ Trying to Upload Raw HTML to WordPress
WordPress requires theme structure — not static files.
❌ Using Page Builders to Rebuild Everything
This often breaks layout structure and adds unnecessary complexity.
❌ Ignoring Form Functionality
Frontend forms won’t work without backend handling.
❌ Choosing the Cheapest Hosting Without Performance
Slow sites hurt SEO and conversions.
When Should You Use WordPress After AI Builders?
Use WordPress when:
- your site is going live
- SEO matters
- you need plugins or integrations
- you want long-term control
- clients require WordPress delivery
Final Thoughts
AI builders are changing how websites are created.
WordPress is still the best platform for running them long-term.
The modern workflow looks like this:
- Build your site using AI tools
- Convert it into a WordPress theme
- Host it on a reliable provider
- Scale using WordPress tools
WPConvert bridges the gap between AI-generated design and production-ready WordPress sites.