How to Host Your Site on WordPress After Conversion
Launch a converted WordPress theme on managed or self-hosted infrastructure — DNS, SSL, staging, and go-live checklist.
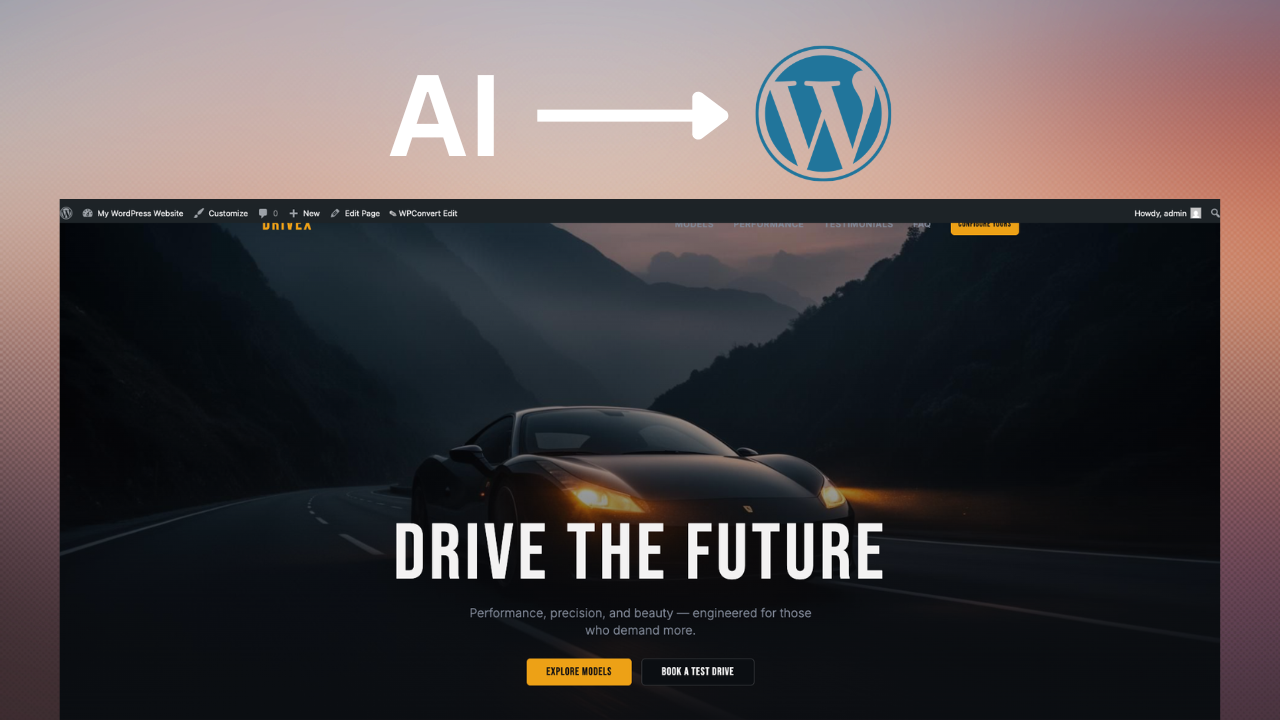
AI website builders like Lovable, Framer, Cursor, and Claude can generate beautiful websites in minutes.
But once your site is built, the next question is:
How do you actually host it on WordPress?
This guide walks you through the full process — from converting your AI-built site into a WordPress theme to launching it on a hosting provider.
Why Host an AI-Built Website on WordPress?
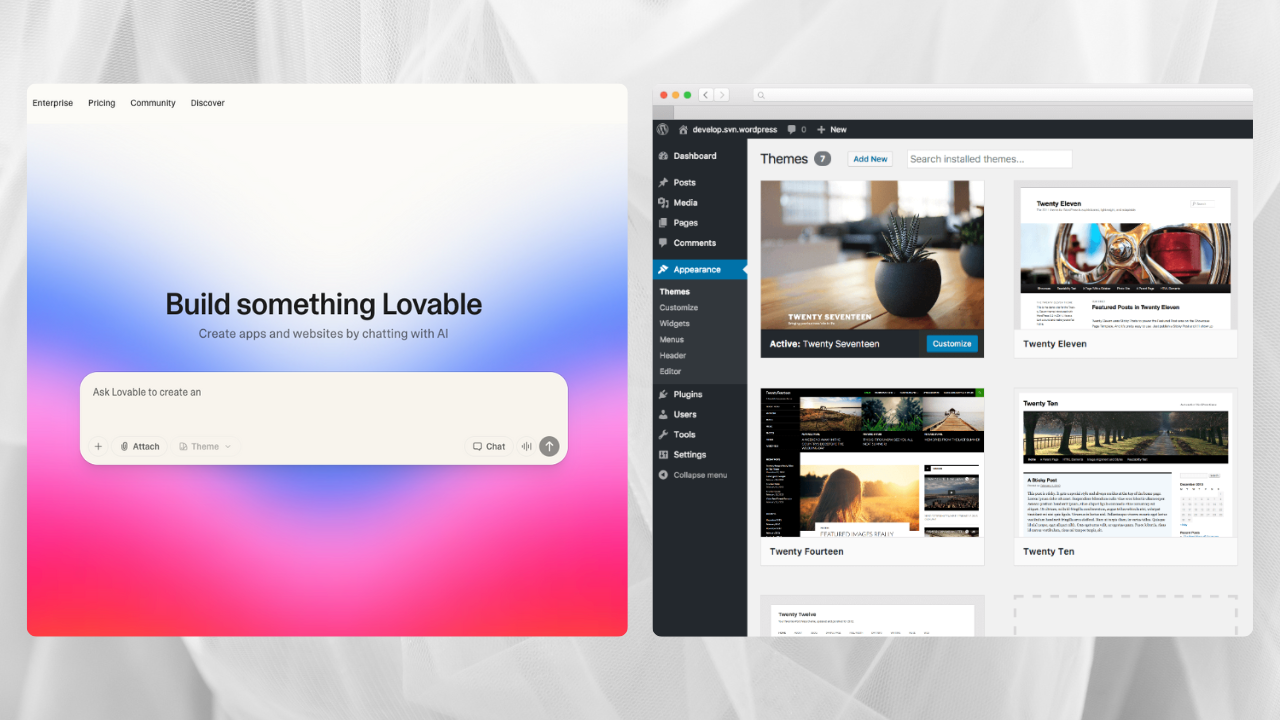
AI builders are great for speed and design.
But they typically lack:
- a full CMS
- plugin support
- SEO control
- long-term flexibility
- ownership of your infrastructure
WordPress solves all of that.
With WordPress, you get:
- full control over your site
- thousands of plugins
- advanced SEO tools
- scalable hosting options
- long-term flexibility
That's why many developers and agencies use AI builders for design — and WordPress for production.
Step 1 — Convert Your AI Website Into a WordPress Theme
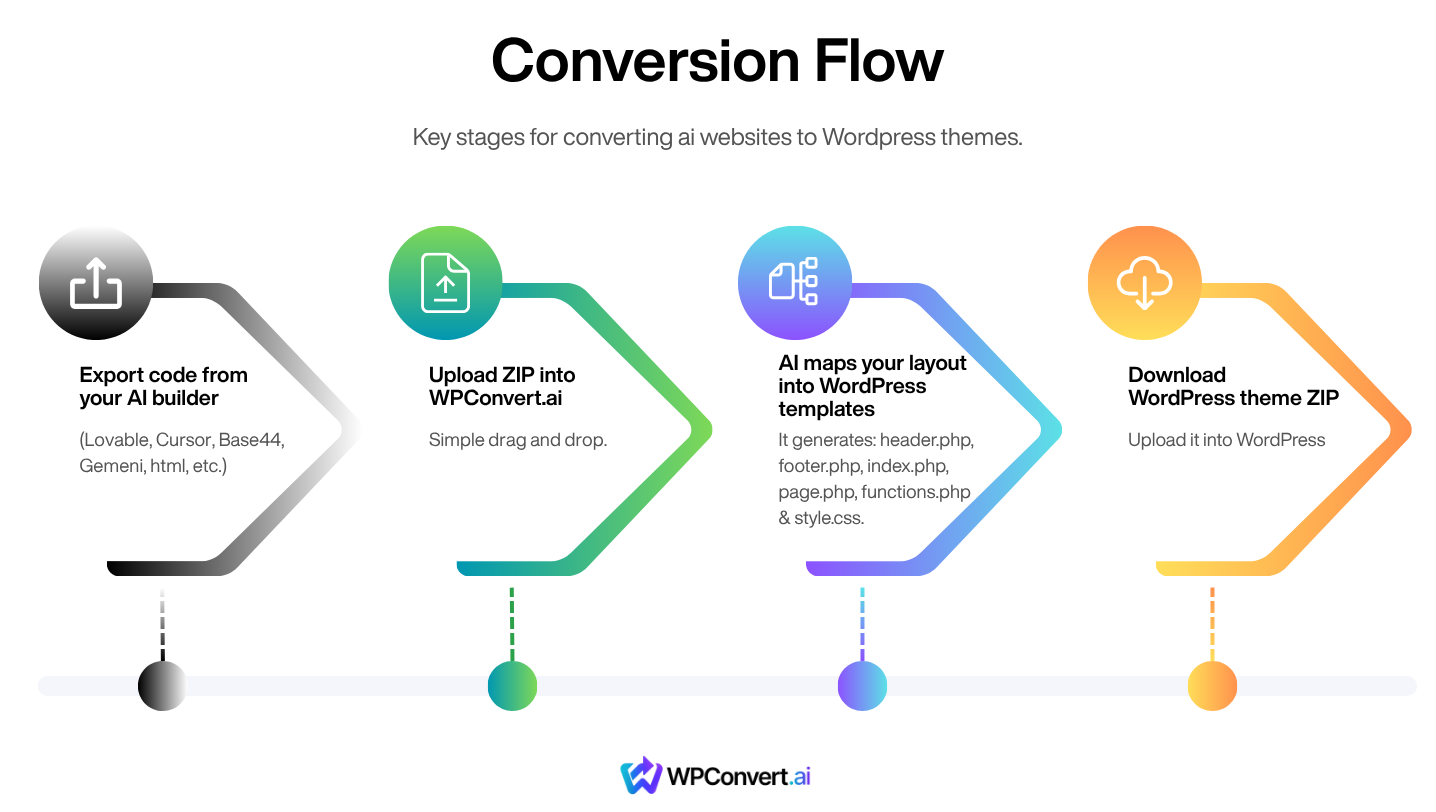
Before hosting, your AI-generated site needs to become a WordPress-compatible format.
Most AI builders output:
- HTML
- CSS
- JavaScript
- or Vite/React projects
WordPress requires:
- PHP templates
- theme structure (header.php, footer.php, etc.)
- proper asset loading
- dynamic content handling
The Easiest Way: Use WPConvert
Instead of rebuilding everything manually, you can use WPConvert to convert your site automatically.
WPConvert:
- analyzes your website structure
- generates real WordPress theme files
- preserves layout and styling
- prepares everything for installation
👉 Convert your AI-built site here: WPConvert convert hub
Step 2 — Choose a WordPress Hosting Provider
Once you have your WordPress theme, you need hosting.
A WordPress host provides:
- server infrastructure
- database
- domain connection
- WordPress installation
Best Hosting Options for AI-Converted WordPress Sites
Here are solid options depending on your needs:
1. Hostinger (Best for Beginners)
- Affordable pricing
- Easy WordPress setup
- One-click installs
- Great for small to medium sites
2. SiteGround (Best Balance)
- Strong performance
- Good support
- Built-in caching
3. Bluehost (Popular Starter Option)
- Beginner-friendly
- Official WordPress partner
4. WP Engine (Best for Agencies)
- Managed WordPress hosting
- High performance
- Premium support
What to Look for in Hosting
For AI-converted websites, prioritize:
- Fast load speeds
- SSD storage
- PHP 8+ support
- Easy theme upload
- Good caching tools
You don't need anything overly complex to start.
Step 3 — Install WordPress
Most hosts offer one-click WordPress installation.
Typical process:
- Log into your hosting dashboard
- Click "Install WordPress"
- Choose your domain
- Set admin username and password
- Complete installation
Once done, access your dashboard:
https://yourdomain.com/wp-admin
Step 4 — Upload Your Converted Theme
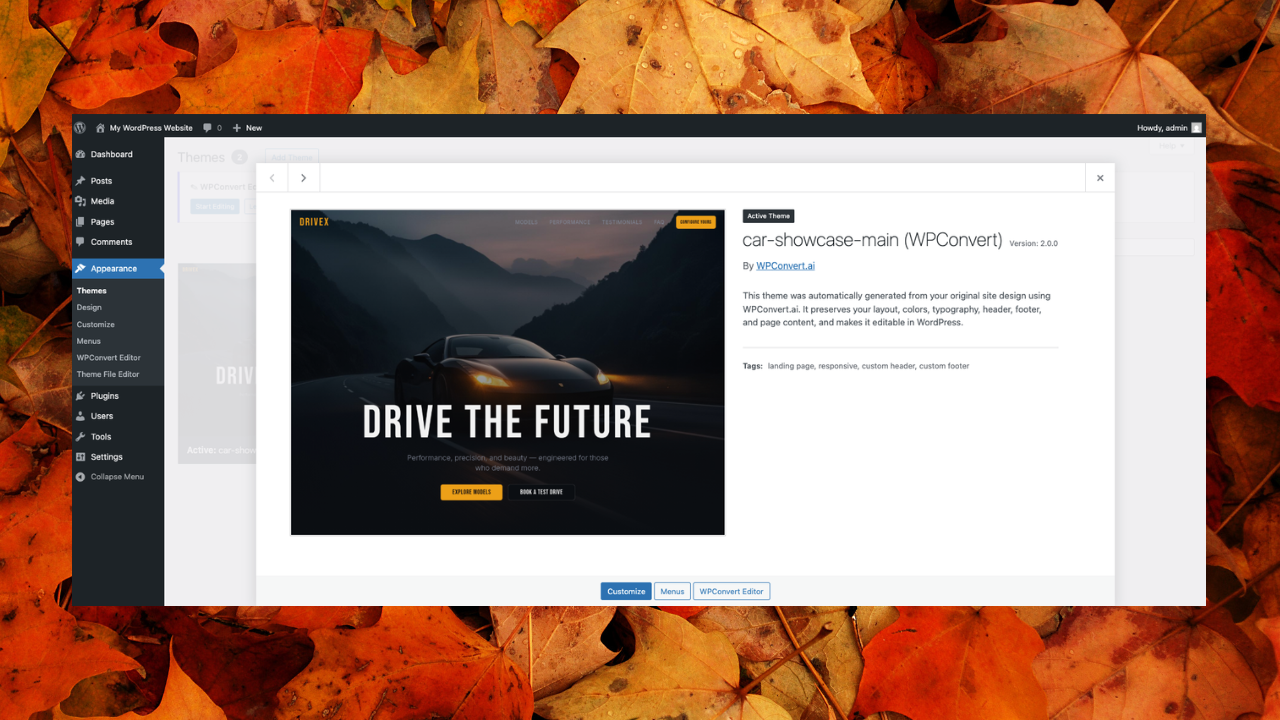
Now it's time to install your WPConvert theme.
In WordPress:
- Go to Appearance → Themes
- Click Add New
- Click Upload Theme
- Upload your
.zipfile - Click Install
- Click Activate
Your AI-built website is now live on WordPress.
Step 5 — Configure Your Site
After activation:
Check:
- homepage layout
- navigation links
- images and assets
- responsive behavior
Recommended Plugins:
- SEO plugin (RankMath or Yoast)
- Caching plugin
- Security plugin
- SMTP plugin (for email delivery)
Step 6 — Test Forms and Functionality
AI-generated forms often don't work out of the box.
That's because they are usually:
- frontend-only
- missing backend logic
- not connected to WordPress
With WPConvert:
Forms are detected and rebuilt using WordPress-native handling, including:
- secure submission
- nonce validation
- email integration
Always test:
- contact forms
- buttons
- user interactions
Step 7 — Connect Your Domain
If you haven't already:
- Point your domain to your hosting provider
- Update DNS settings
- Enable SSL (HTTPS)
Most hosts provide free SSL certificates.
Common mistakes to avoid
Trying to upload raw HTML to WordPress
WordPress requires a theme with style.css, PHP templates, and enqueued assets — not a folder of static files. Use WPConvert or rebuild into theme structure before upload.
Rebuilding the entire site in Elementor or Divi
Page builders duplicate layout work you already paid for in the AI export. They add CSS bloat and drift from the converted theme. Prefer the WPConvert theme plus targeted plugin additions.
Skipping the pre-conversion pass
Missing nav, tabs, and forms in the live theme usually trace back to export markup — not hosting. Run optimize before conversion before you blame the host.
Ignoring form and email delivery
Frontend-only forms do not send mail. Test submissions after theme activation; install SMTP (WP Mail SMTP, Post SMTP, or host relay) so contact forms reach inboxes.
Going live on underpowered hosting without caching
AI exports can be asset-heavy. PHP 8+, object cache where available, and page caching prevent slow TTFB that hurts SEO and conversions.
DNS cutover without a redirect map
Traffic and rankings drop when old builder URLs 404. Plan 301s before you point the domain — see SEO for converted themes.
Leaving staging indexable
Search engines index staging subdomains and duplicate production content. Use noindex and HTTP auth on staging until launch day.
Launch checklist
Complete these in order for a clean go-live:
Before DNS
- Theme activated on staging; top 10 URLs visually match the builder export
- Pre-conversion optimizations applied if first convert looked incomplete
- Forms tested end-to-end (submission, email, spam protection if needed)
- SEO plugin installed and configured per Yoast & Rank Math guide
- Redirect spreadsheet implemented (old URL → new URL, 301)
- Staging marked
noindex; production ready to allow indexing - Backups and rollback plan documented (previous DNS, theme ZIP, database export)
- PHP 8+ and SSL certificate ready on production host
Cutover day
- Lower DNS TTL 24–48 hours ahead if possible
- Point A/AAAA or CNAME to host; verify SSL provisions
- WordPress Settings → General — Site URL and Home use
https:// - Flush permalinks (Settings → Permalinks → Save)
- Clear host and plugin caches
- Smoke-test homepage, contact, and primary CTAs on mobile and desktop
Within 48 hours
- Submit XML sitemap in Google Search Console
- Verify HTTPS redirects (www vs non-www per your policy)
- Fix mixed content: no
http://asset references in CSS or inline styles - Monitor 404 logs and form deliverability
- Confirm scheduled backups run on production
- Watch uptime and Search Console for crawl errors (first 14 days on client sites)
Agency workflow
A repeatable delivery flow keeps client sites consistent:
- Discovery — Confirm hosting access, domain registrar, email DNS (SPF/DKIM), and whether WooCommerce or multilingual is in scope.
- Build in AI tool — Align with client on builder choice; keep a single language in the export.
- Optimize and convert — Pre-flight checklist, upload to WPConvert, download theme ZIP, store in version control or client vault.
- Staging QA — Install on host staging with
noindex; match PHP/MySQL to production; run post-conversion QA below; client sign-off before DNS. - Integrations — SMTP, analytics, cookie consent, SEO plugin — without rebuilding layout in a page builder.
- Launch — Execute launch checklist; agency owns DNS or coordinates with client IT.
- Handoff — Admin credentials, plugin list, maintenance retainer notes, links to guides for SEO and hosting follow-up.
Document who owns Search Console, domain, and hosting billing in the statement of work to avoid post-launch access gaps.
Post-conversion QA
After theme activation, verify behavior — not just appearance:
Layout and assets
- Homepage, about, services, contact, and blog index render correctly
- Logo, favicon, and hero images load (no mixed HTTP content)
- Navigation and footer links resolve; no
javascript:voidor#placeholders for real pages - Responsive breakpoints: menu, grids, and typography on phone and tablet
Functionality
- Contact and lead forms deliver to the correct inbox
- Search, if present, returns expected results
- WooCommerce cart/checkout only if in scope — see WooCommerce import guide
WordPress admin
- Correct page set as Settings → Reading homepage if not blog-first
- Menus assigned under Appearance → Menus if theme registers menu locations
- Unused default themes and plugins removed or deactivated per security policy
Performance
- Page cache enabled at host; test TTFB on cold load
- No console errors blocking scripts on key pages
Log defects with URL, device, and screenshot before requesting a reconvert from the builder repo.
Troubleshooting
| Symptom | Likely cause | Fix |
|---|---|---|
| White screen after theme activate | PHP fatal error in theme | Enable WP_DEBUG on staging; check PHP version ≥ 8.0; review error log |
| Styles missing or broken layout | Permalinks or cache serving stale assets | Save permalinks; purge host and CDN cache; hard-refresh |
| 404 on all pages except home | Permalinks not flushed | Settings → Permalinks → Save; confirm mod_rewrite or nginx rules |
| Images broken on live domain | Hardcoded staging URLs in export | Search-replace URLs in database (carefully) or reconvert from clean export |
| Forms never arrive | No SMTP; mail() blocked by host | Install SMTP plugin; verify SPF/DKIM for sending domain |
| Site shows old builder content | DNS not updated or CDN cache | Confirm DNS propagation; purge CDN; check you edited production not staging |
| SSL warnings or mixed content | Assets still http:// |
Update WordPress URLs to HTTPS; fix asset URLs in Customizer or theme |
| Mobile layout wrong only on device | Aggressive minify or different cache | Disable minification temporarily; test with host mobile cache off |
Escalate to a reconvert when large sections are missing from HTML — hosting cannot restore markup that was never in the export.
When Should You Use WordPress After AI Builders?
Use WordPress when:
- your site is going live
- SEO matters
- you need plugins or integrations
- you want long-term control
- clients require WordPress delivery
Final Thoughts
AI builders are changing how websites are created.
WordPress is still the best platform for running them long-term.
The modern workflow looks like this:
- Build your site using AI tools
- Convert it into a WordPress theme
- Host it on a reliable provider
- Scale using WordPress tools
WPConvert bridges the gap between AI-generated design and production-ready WordPress sites.